XO Lite
Xen Orchestra Lite is a lightweight version of the Xen Orchestra meant for single-host administration, running directly from your browser without having to deploy anything, hosted on XCP-ng directly. You can access it directly on the default https port, by following this URL pattern: https://[XCP-NGHOSTNAME]OR[XCP-NGIP ADDRESS]. For example:
- If my XCP-ng machine has the DNS hostname
mycloud.local, I will access XO-lite at https://mycloud.local. - If my XCP-ng machine has the IP
192.168.0.1, I will access XO-lite at https://192.168.0.1.
XO Lite is bundled by default in XCP-ng 8.3. If you want to use it on an older release, you can do so by using this URL in your browser: https://lite.xen-orchestra.com/#/?master=<IP_of_your_XCP-ng_master>. Don't forget to visit the page of your XCP-ng master first to accept the self-signed certificate!
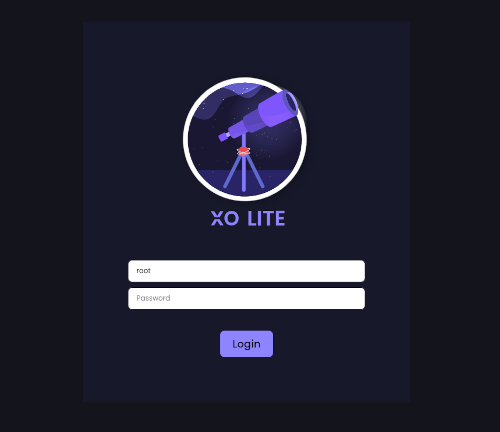
XO Lite uses a self-signed certificate. You need to accept the certificate (follow your web browser's instructions) to access the login page.
XO Lite is still a work in progress! However, it's meant to cover all basic actions you need to boostrap your infrastructure or just do basic operation on your VMs.
🔐 Credentials
XO Lite credentials are the same than the host (SSH credentials), usually root as user and the password chosen during the installation process.
📊 Dashboard
Once logged, you can see the dashboard:
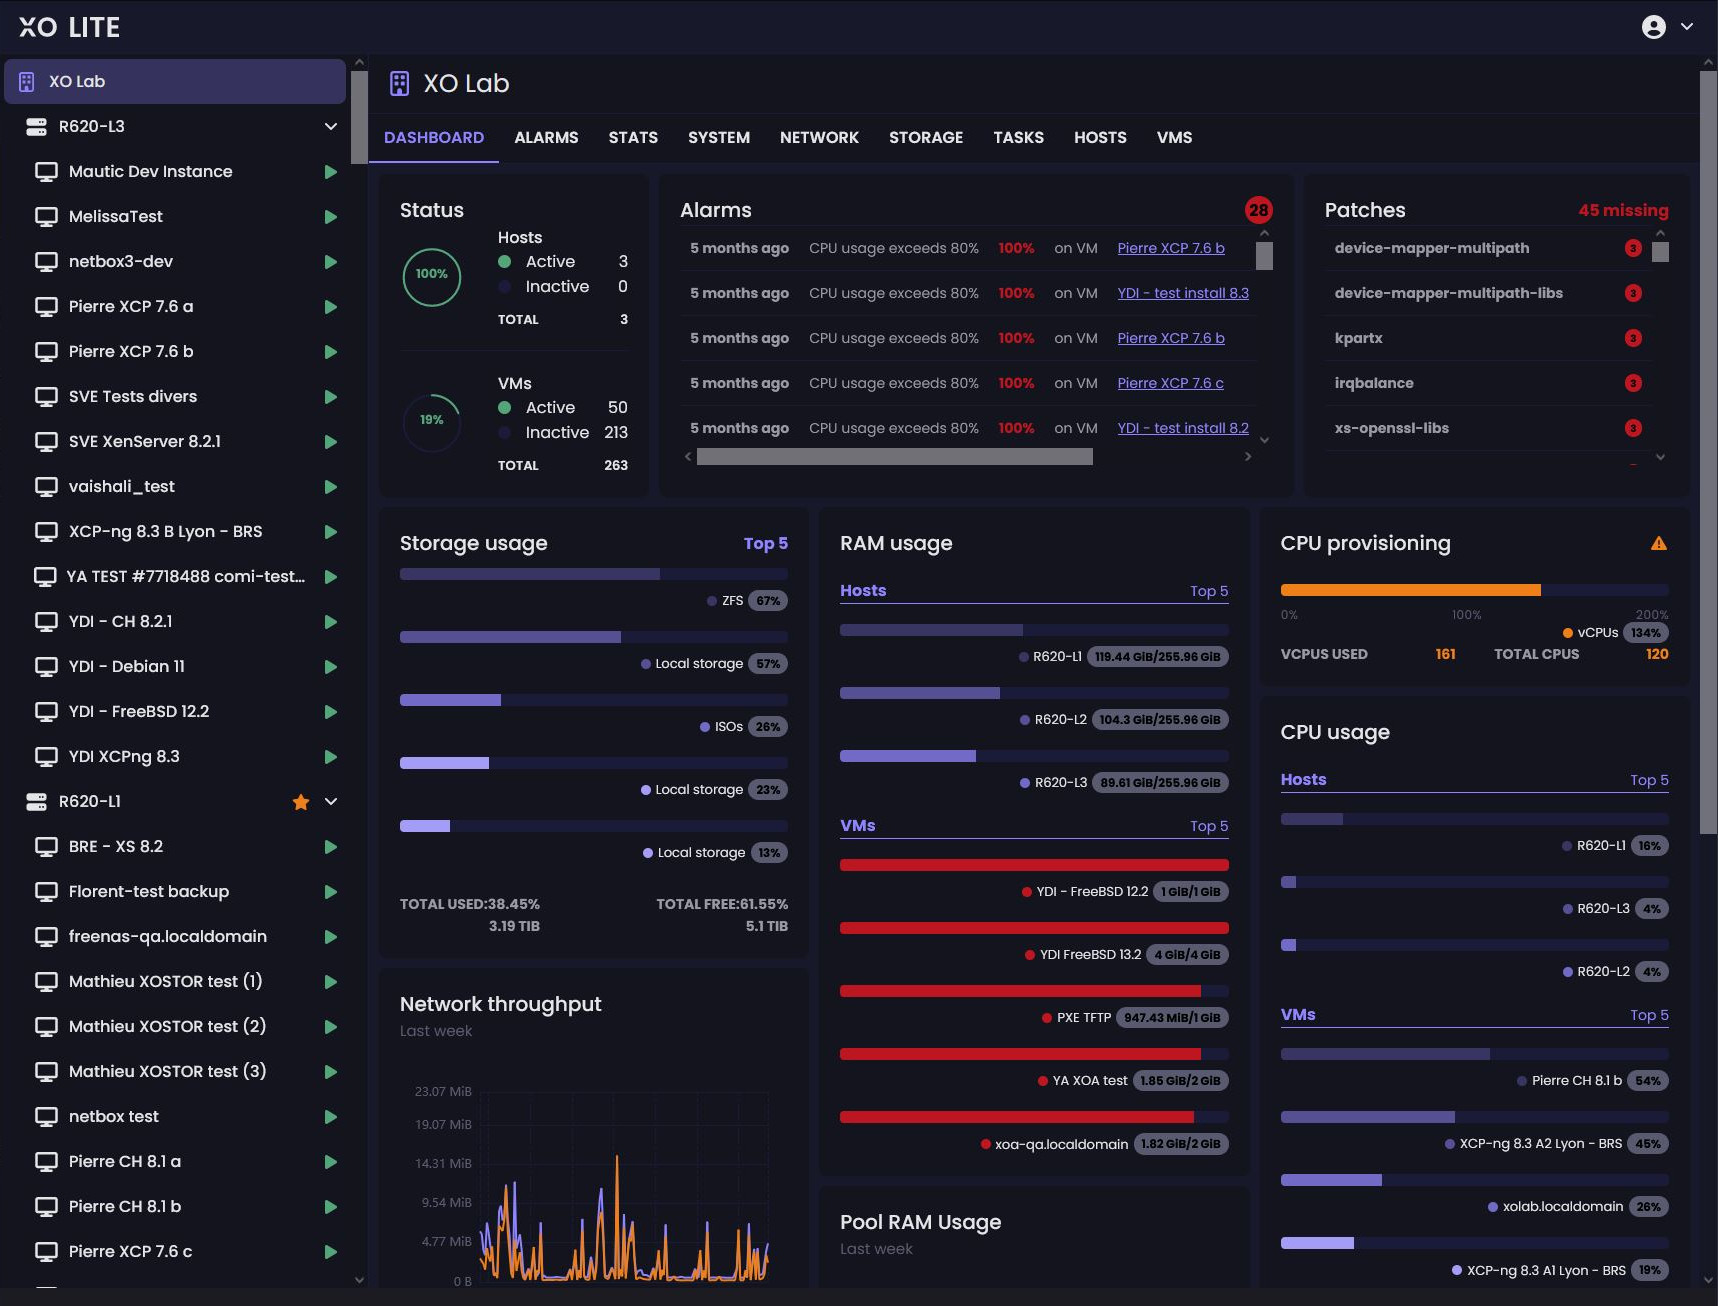
XO Lite isn't a multi-cluster orchestrator, it's just a local management console. If you want to orchestrate your VMs at scale (load balancing, backup, warm migration and so on), you MUST use Xen Orchestra!
Disabling XO Lite
First, let's emphasize that XO Lite is merely an XAPI client. While it is made readily available by the web server on XCP-ng, it actually runs entirely in your web browser. It does not increase the attack surface on XCP-ng servers. Additionally, in a properly configured XCP-ng deployment, the management interface resides on a dedicated network, accessible only to administrators.
However, you might still want to prevent XCP-ng from offering XO Lite altogether. To do so, simply add the following line to a new file in /etc/xapi.conf.d/:
disable-webserver=true
Here's a one-liner to do that:
echo "disable-webserver=true" > /etc/xapi.conf.d/disable-webserver.conf
You must perform this step on every host in the pool, followed by a toolstack restart (ensure no critical tasks are running before doing so):
xe-toolstack-restart